I figured just in case you guys weren't getting sick of seeing these yet, I'd walk you through my current project.
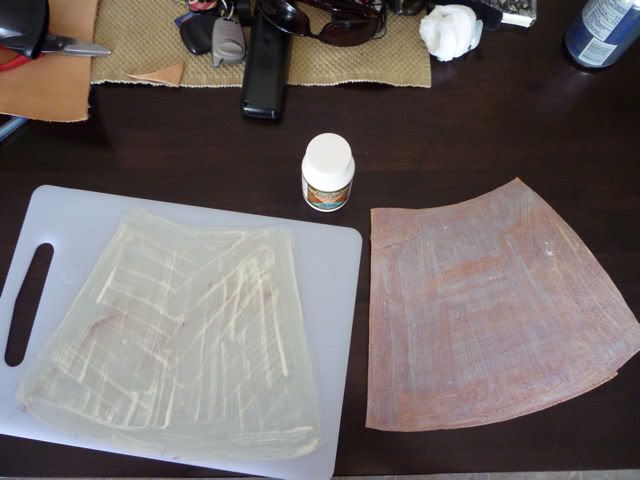
I have been using veg tanned leather for my arm guards, since it is ideal for tooling. I created a paper patern that I fitted to my arm to trace onto the leather. I have found that tooling stretches the leather quite a bit, so I've been using contact cement to glue the leather to a cutting board so that it keeps it's shape while tooling. When I'm done, I pull the leather off, the contact cement comes up with it, and then I can peel it off. It comes off in a sheet of latex, usually pretty easily (unless I put it on too thin).
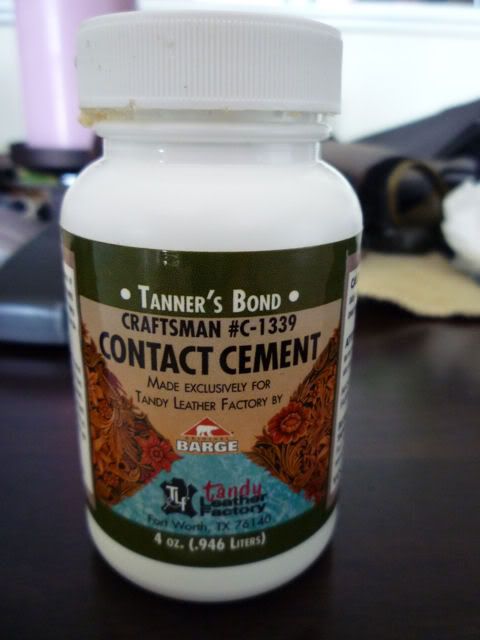
Here's the cement I use, I won't use anything else because I know this comes off easily
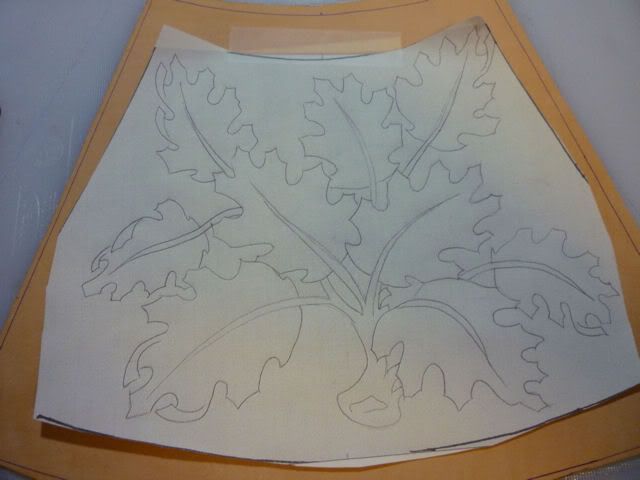
Then I create my design, resize it the the dimensions I need, and print it off. My friend requested oak leaves, this is what I came up with
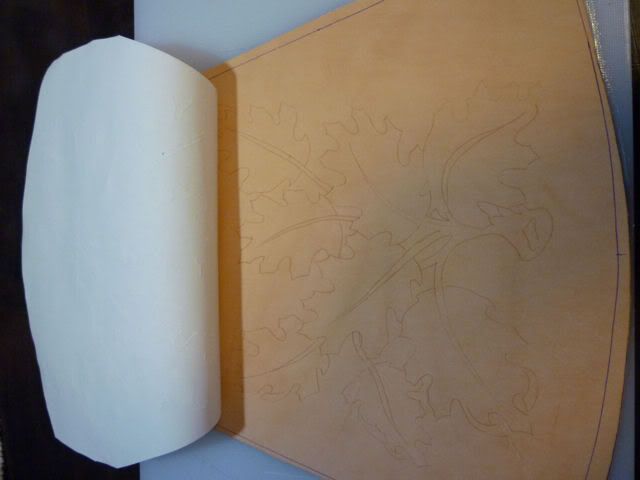
Before tooling the leather, it has to be "cased". All this means is that you have to dampen it with a sponge and let the water absorb until the leather returns to it's original color. With that done, I place the pattern on the leather where I want it, and attach it with a piece of tape so that it doesn't slip. Then I use a scribe to trace over each line and transfer the pattern to the leather. It doesn't take much pressure on the scribe.
The next step is to cut all of the lines with a swivel knife. This allows a nice sharp edge to be tooled that gives more depth. This is from another project, but I just wanted to show the knife.
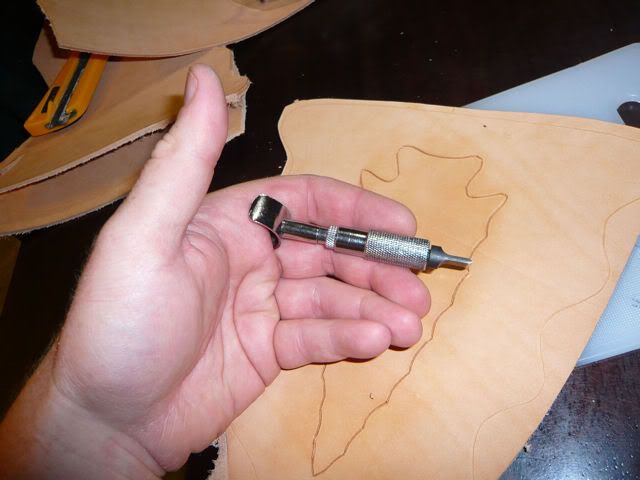
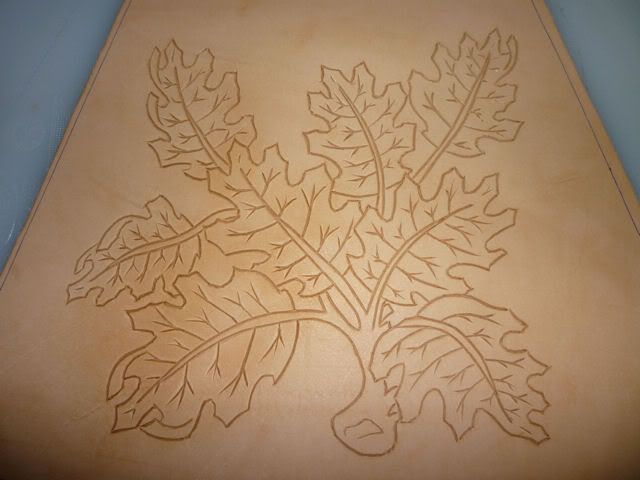
The swivel knife takes a bit of practice to get nice smooth curves. Here's what it looks like after it's cut
Ooops, how'd that get there??
Now comes the real time consuming part, the tooling. For those that don't know, the tools you'll see in the next few pictures are tapped with a plastic mallet to get different effects. I'll try to explain the different stamps as I go. I start of by using a textured "beveller" along all the edges where objects overlap. It is important to do the tooling on the correct side of the cut. The shading is always done on the object that you want to appear to be behind. Hopefully the pictures will explain what I mean. There are smooth bevelers, and textured ones. I'm using the textured one, because when I stain this later, the textured leather will hold more stain, making it darker, and giving it more depth.
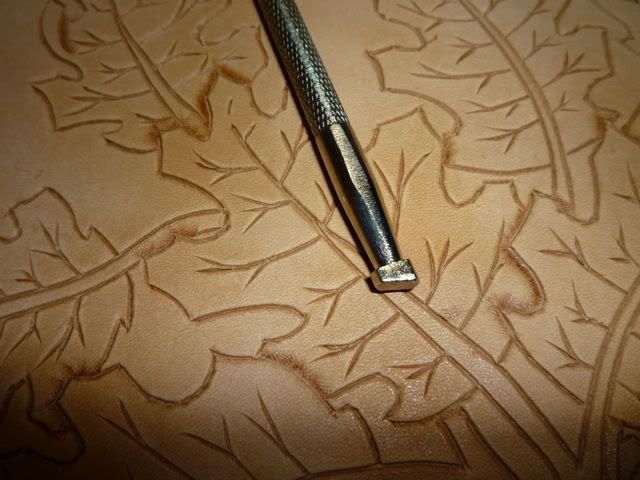
This tool is called a pear shader. Most of these tools are multi-purpose: you can hold them at different angles to use certain edges to get different effects. I'm just adding some texture to the leaves
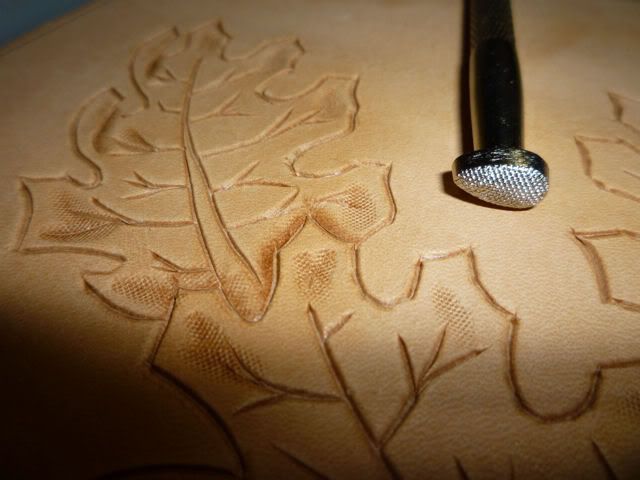
This is another type of shader, I'm using it for more leave texture, where the leaf's veins meet the stem.
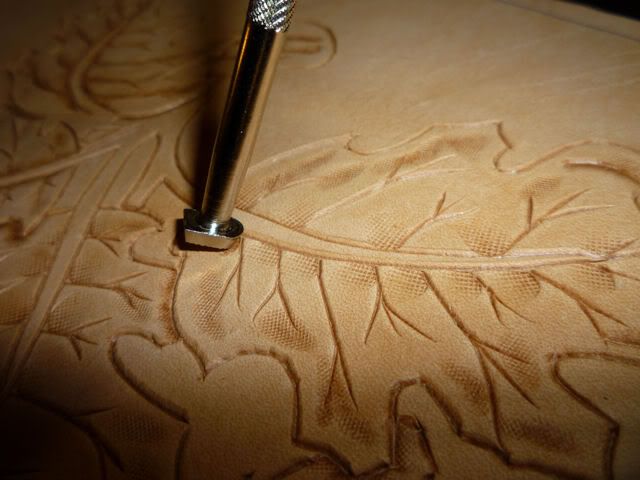
After using various shaders and bevelers on the leaves, I end up with this
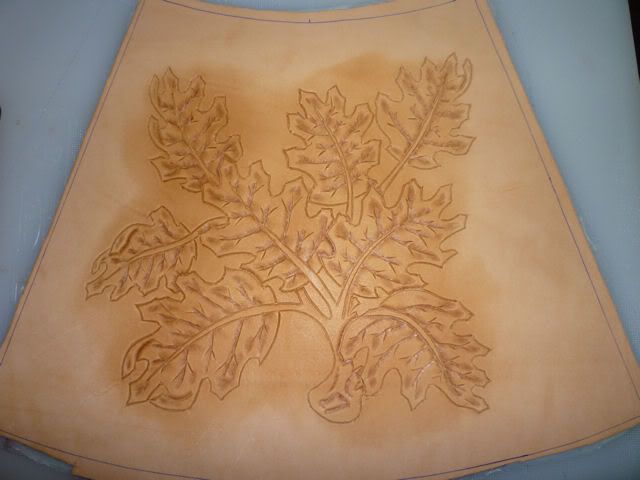
Now I'm going to use a smooth beveler to go around the outside of the leaves and branches, and end up with this
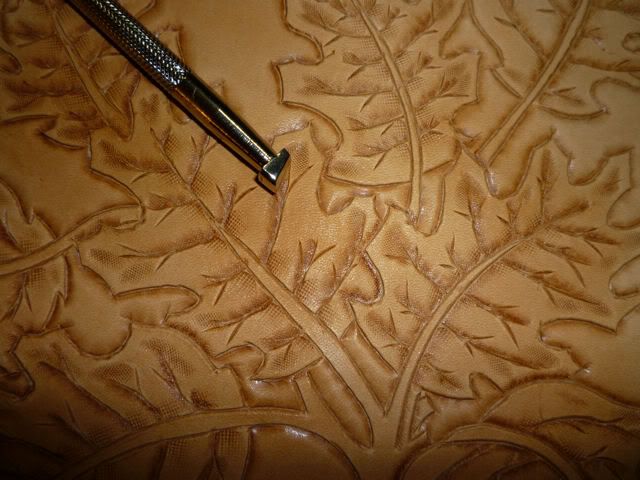
Well that's about it for tonight, I'll post again when I have some more progress.
Thanks for looking.