Author Topic: Arm guard leather carving (Finally finished!!)  (Read 33663 times)

0 Members and 1 Guest are viewing this topic.

Offline Cameroo

  • Member
  • Posts: 1,579
    • Cam's Stuff
Arm guard leather carving (Finally finished!!)
« on: February 26, 2011, 03:28:18 am »
I figured I'd share some pictures of an arm guard that I started today.  This is the most intricate leather carving I've attempted yet, so I figured I'd show some of the steps along the way since there was some interest in the other arm guards I made.  Almost all of the tools I'm using are from Tandy, but you can find them elsewhere as well.  If you are going to be purchasing a lot of supplies/tools, you can score some pretty significant savings by getting a member card.  It paid for itself on my first trip there.  Anyhoo, here we go.  If I don't describe this well enough, feel free to ask questions.

I took a bit of time making a patern for this out of construction paper.  It will wrap completely around my forearm.  It's kinda hard to explain how I plan on putting it on - it will be a combination of lace (or 1/8 bungee cord), and a couple snaps where it gets wider.  Hopefully it will work and you'll see it come together a little later.

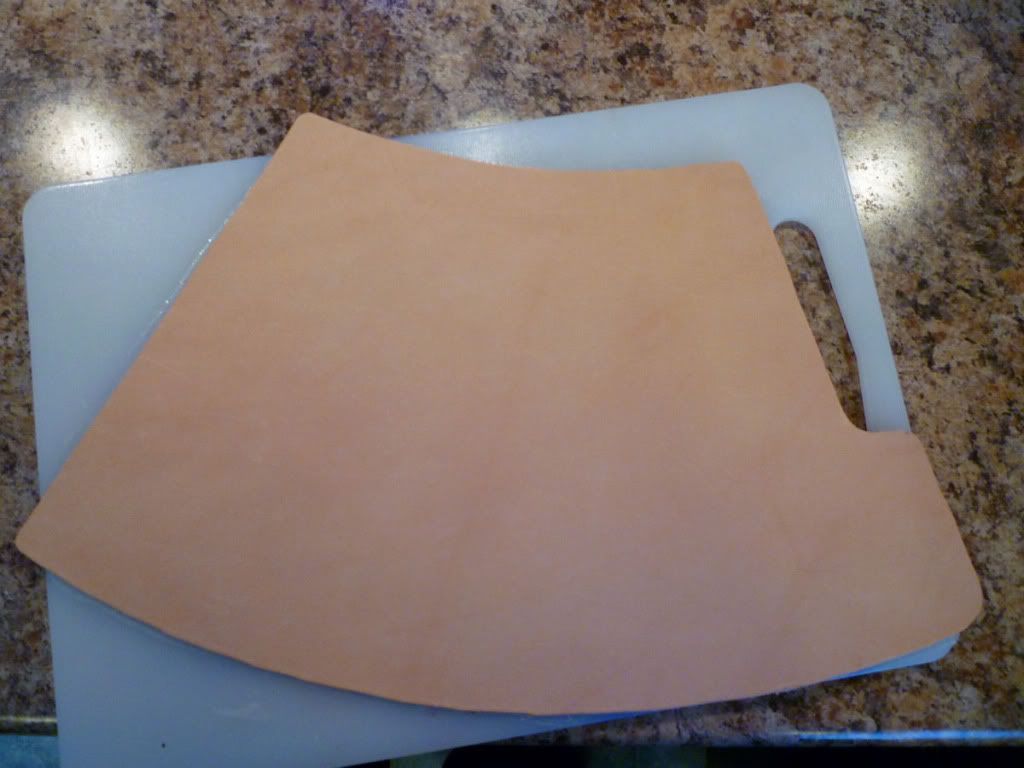
I then transfered the outline onto some veg-tanned leather.  If you're going to do carving/stamping, use vegetable tanned (or "tooling") leather.  After I cut the piece out, I used contact cement to glue it to a cutting board.  You can use any solid surface, I use a cutting board because it's easy to move and rotate as I work.  I learned early on that if the piece is not glued down, it will actually stretch/warp quite a bit from the tooling - not what you want!

Next I used trace paper to draw the outline of the leather onto, and then proceeded to draw my design on the paper:


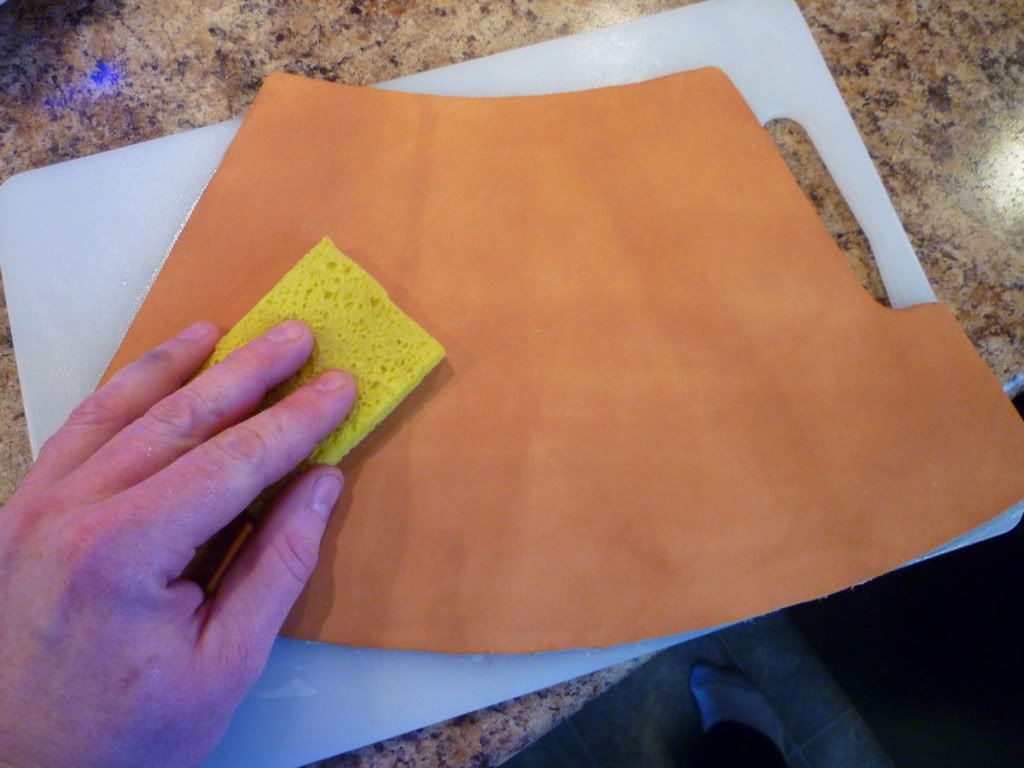
Once I'm ready to start tooling, I dampen the leather with a sponge.  This must be done to get the tooling to "take".  I want to get the leather wet, but not soaking.  A little experience will help you to get it right.  Then I let it sit a few minutes to let it soak in.  The color will change back to what it was before, and then I'm ready to go.

I place the trace paper over the leather (and tape it so it doesn't move).  Then using a scribe, I trace over every line on the pattern.  It shouldn't take much pressure at all to transfer the design.


Once I am sure that I covered every line, I remove the paper.  Then, using a swivel knife, I begin to cut into the outlines that I just put onto the leather.  This helps define the edges of the objects to give them more depth.  You want the cut to go approx. 1/2 way through the leather.  If you have a lot of tooling to do like this, you will periodically have to dampen the leather again.  Swivel knives do not work well on dry leather.


After all the outlines are cut, I start the stamping.  This is where some books and some trial-and-error come into play, to learn what types of stamps you need and what their purpose is.  I didn't take many pics so far while I was stamping, but will try to get some more details before I finish up.  Some of the tools used in this picture are:
The "Seeder" - the round dots, usually used for backgrounds, or for seeds on flower designs.
The "Shader" - many different types and sizes, used to add texture and shadows.
The "Beveler" - used to create a more defined edge to give the design depth.
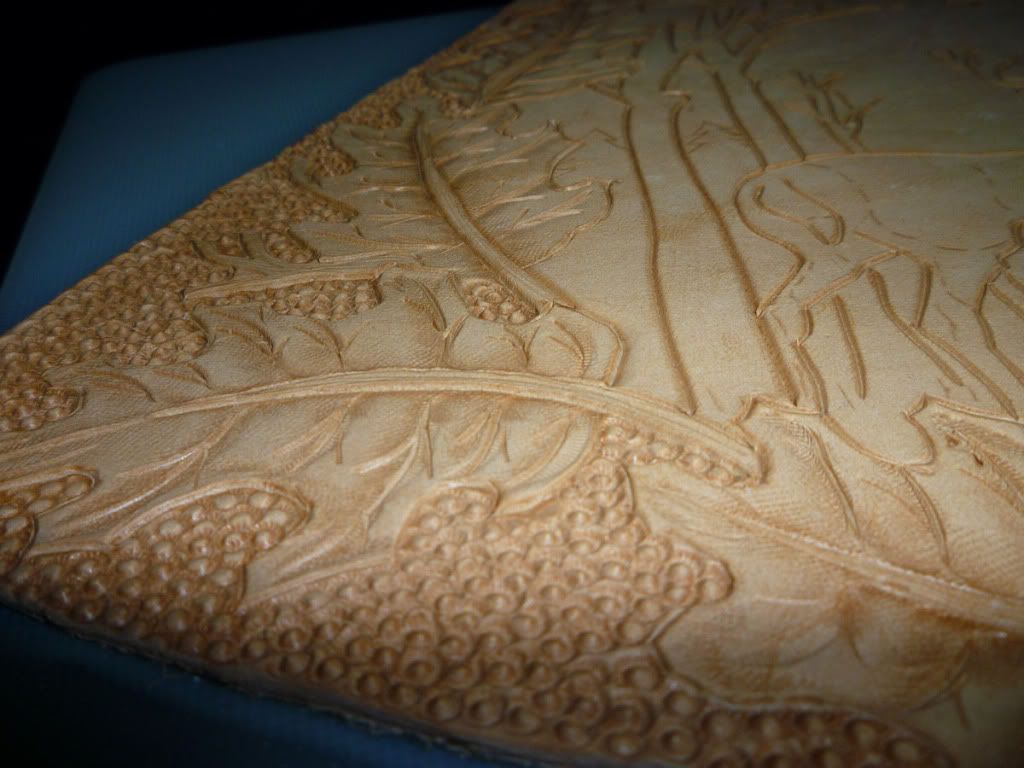

Well, this is as far as I got today.  I need to pick up a couple new tools for doing textures like grass, leaves, etc.  I'll post more when I get a chance to do more work on it.  Thanks for looking!


« Last Edit: March 04, 2011, 05:24:22 pm by Cameroo »

Offline Pat B

  • Administrator
  • Member
  • Posts: 37,633
Re: Working on a new arm guard/bracer
« Reply #1 on: February 26, 2011, 11:42:14 am »
Very nice carving, Cam. I've done some of that years ago and can tell you it is time consuming work but well worth the effort.
Make the most of all that comes and the least of all that goes!    Pat Brennan  Brevard, NC

Offline sailordad

  • Member
  • Posts: 5,045
Re: Working on a new arm guard/bracer
« Reply #2 on: February 26, 2011, 11:54:13 am »
very nice work
i have never done that kind of work
a guy i work with handed me small box awhle back
it had a bunch of differant types of leather punches
i have no idea whats used for what so i have yet to try them out

but i think i might just grab a piece of leather and give them a try
i always wanted a harley,untill it became the "thing to ride"
i ride because i love to,not to be part of the crowd

HatchA

  • Guest
Re: Working on a new arm guard/bracer
« Reply #3 on: February 26, 2011, 12:34:27 pm »
Thanks for sharing this carve-along Cam - it's very interesting to see the stages of work being done!

Offline NTD

  • Member
  • Posts: 1,771
Re: Working on a new arm guard/bracer
« Reply #4 on: February 26, 2011, 02:48:30 pm »
That's going to be awesome Cam!
Nate Danforth

Offline Cameroo

  • Member
  • Posts: 1,579
    • Cam's Stuff
Re: Working on a new arm guard/bracer
« Reply #5 on: February 26, 2011, 04:54:32 pm »
Thanks guys.  I figured you older guys would appreciate it ;) Kelly figures it looks "old-timey".

I'm anxious to get back to work on it, but Kelly and I are having the 3rd anniversary of our first date today, so I think it's in my best interest not to work on it today ;)
Maybe tomorrow...

Offline Pat B

  • Administrator
  • Member
  • Posts: 37,633
Re: Working on a new arm guard/bracer
« Reply #6 on: February 26, 2011, 05:30:32 pm »
Nothing wrong with "old timey" in my book!  ;D
Make the most of all that comes and the least of all that goes!    Pat Brennan  Brevard, NC

Offline Cameroo

  • Member
  • Posts: 1,579
    • Cam's Stuff
Arm guard leather carving
« Reply #7 on: February 28, 2011, 01:41:55 am »
I got the tooling pretty much finished up today.  I took some closeup pictures of some of the different tools I used in case anyone is interested.  Hope I'm not boring with the details, but I had a request on some earlier work for more of a how-to.  So, here we go...

This tool is called a seeder.  There are different types and sizes.  It's called a seeder because it's main purpose originally was to do the seed clusters in the center of flower blossoms.


I used it in this case to fill in some empty background space.  The texture will soak up a lot of dye and make those areas quite dark.


This is one example of a beveler. It gets used a lot to give depth around the outline of objects.


Another beveler for getting into tighter areas.  I used this lots for the trees.


Another tiny odd-ball beveler for tight spaces.  Most of these tools can be used for multiple purposes but tilting the tool at different angles and varying the amount of pressure.


This is one example of a shader, generally used to create shadows.  Areas textured with these tools will generally soak up more stain too.


Here I used a pear shader and the modeler tool to put some contour onto the deer.

Offline Cameroo

  • Member
  • Posts: 1,579
    • Cam's Stuff
Arm guard leather carving
« Reply #8 on: February 28, 2011, 01:43:15 am »
I found that this type of shader makes some really nice foliage in the trees.


The ducks didn't turn out quite the way I wanted, but they'll be better next time :)


Used the modeler tool (the spoon end of the scribe tool) to do some work on Bambi


And that's pretty much where I'm at now.  Next step is to start dyeing/staining.  Hopefully I don't screw it all up.  Believe it or not, I've got about 12 hours into this thing already...


HatchA

  • Guest
Re: Arm guard leather carving
« Reply #9 on: February 28, 2011, 08:10:21 am »
Bloody impressive work Cam!!

Offline Lee Slikkers

  • Member
  • Posts: 1,545
Re: Arm guard leather carving
« Reply #10 on: February 28, 2011, 10:34:40 am »
Nice work!  I dabble with leather as well but dang, you're fast!!!  Keep the pics coming, they don't bore me and I love to see other's work.  Thanks~
~ Lee

~~~~~~~~~~~~~~~~~~~~~~~~~~~~~~~~~~~
"The last word in ignorance is the man who says of an animal or plant: 'What good is it?"
— Aldo Leopold
~~~~~~~~~~~~~~~~~~~~~~~~~~~~~~~~~~~

Offline Cameroo

  • Member
  • Posts: 1,579
    • Cam's Stuff
Re: Arm guard leather carving
« Reply #11 on: February 28, 2011, 10:43:43 am »
Thanks HatchA and Lee.  I didn't realize I was fast :)  I figured I was going too slow!

More pics to come when the dye-job starts.

Offline Lee Slikkers

  • Member
  • Posts: 1,545
Re: Arm guard leather carving
« Reply #12 on: February 28, 2011, 10:47:38 am »
Naw, if anyone has done any amount of leather work and see's how much space you are filling up completely they'd realize your pace is just fine.
~ Lee

~~~~~~~~~~~~~~~~~~~~~~~~~~~~~~~~~~~
"The last word in ignorance is the man who says of an animal or plant: 'What good is it?"
— Aldo Leopold
~~~~~~~~~~~~~~~~~~~~~~~~~~~~~~~~~~~

Offline ohma

  • Member
  • Posts: 279
Re: Arm guard leather carving
« Reply #13 on: February 28, 2011, 12:02:50 pm »
very talented.like to see finished product.
if your not dead you are getting older so get out and shoot some arrows.

Offline Pappy

  • Global Moderator
  • Member
  • Posts: 32,198
  • if you have to ask you wouldn't understand ,Tenn.
Re: Arm guard leather carving
« Reply #14 on: February 28, 2011, 01:32:03 pm »
Beautiful work,that is going to be one nice arm guard. :)
   Pappy
Clarksville,Tennessee
TwinOaks Bowhunters
Life is Good